Project: Oak shelves for kitchen
A long time friend of mine recently reached out to have some work done on their house. He needed some new solid oak shelves made for the kitchen to match their existing oak furnishings.
Even though this is a very straightforward job, here’s a little breakdown of the process for anyone interested in doing this on your own.
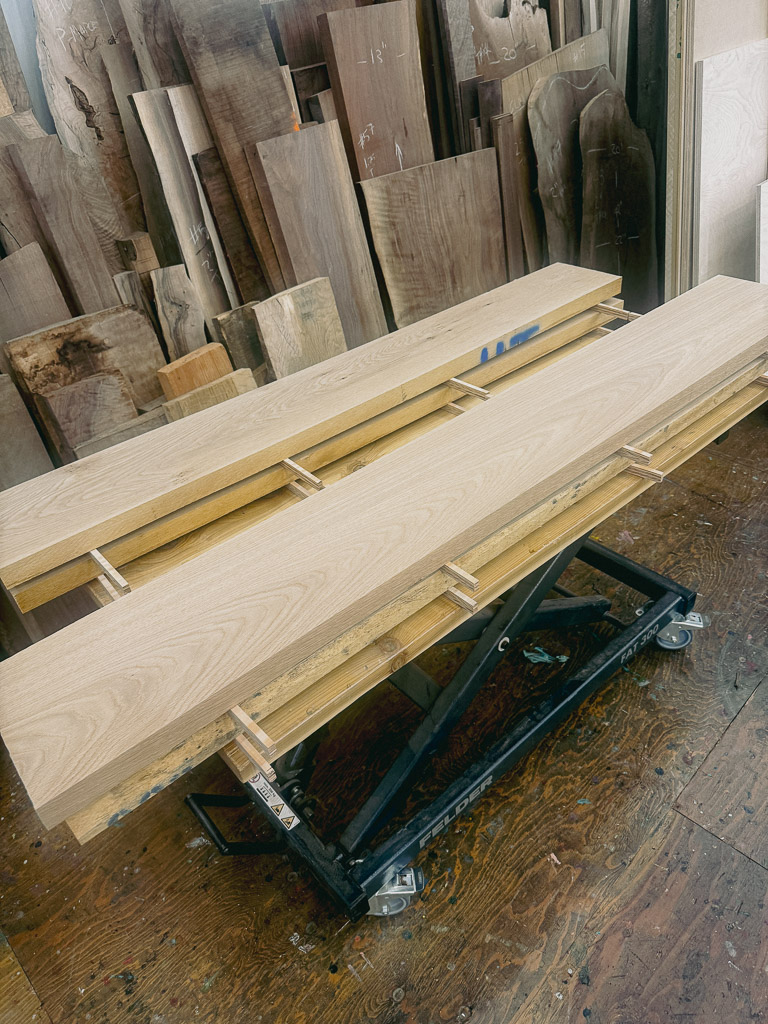
Since the oak in the clients house is pretty light, I made sure to find some really interesting kiln-dried* oak in 8/4 (±1-1/2″) as my final dimension was 1-1/4″. This extra would allow me to mill out any imperfections in the face of the wood and still finish at my final thickness.
*Kiln dried wood is generally lighter in color and more of what we find out here in the PNW. If you’re located on the East coast, you might find more steamed oak.
A note about environments
Picking lumber can be a rewarding experience, so make sure to protect your investment by allowing it to acclimate to the shop environment before milling.
For a quick job like this, I let the wood rest on stickers for about two days, flipping it once each day.
This process allows air to flow on all sides of the wood and acclimates the wood slowly to its new environment. While it’s not absolutely necessary to do this, it will undoubtedly be helpful and protect against sudden warpage or splitting.
I then mill the lumber close to my final dimension. In this case, after jointing one face and one edge, and sending it through the planer, I had about 1/16″ extra thickness and about 1″ extra in width. I then sticker the lumber and let it rest once more for 24 hours. This is just an extra “insurance policy” so that if there is the slightest movement after milling those faces/edges, I still have a little room to mill off irregularities during my final pass.
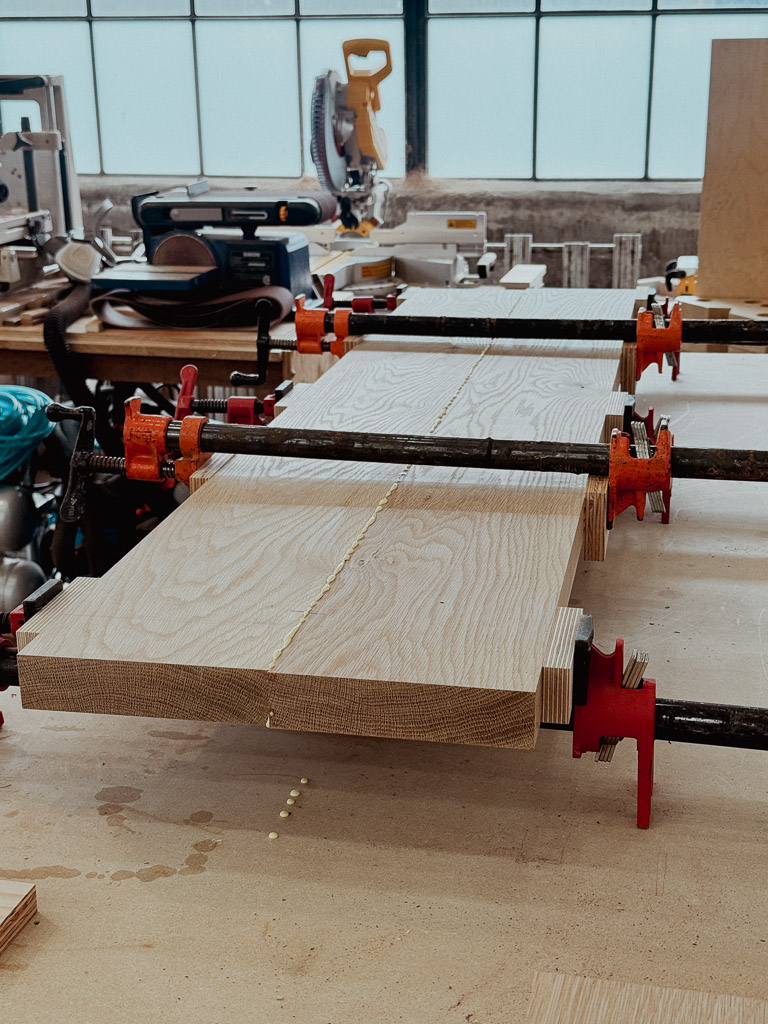
Stressed during glue-up?
The glue-up is probably the most stressful moment during most woodworking projects (at least for me). You have everything ready to go and yet somehow you find yourself running around the shop looking for a wet rag or a little piece of wood to throw inside the clamp face, all while glue is dripping and time is running out…
Fear not!
I have found that staying calm and just doing a little prep work will put your fears to bed. Keep these item nearby and available:
- “Slightly” damp wet rag
- Strips of cardboard
- Small pieces of plywood
- Clamps (pre-lengthened helps)
- Blue tape
- Glue bottle
- Razor blade
- Dry rag